If you are on Windows then using it will not be an issue specially if you have an FTDI chip programmer, for users of Prolific chip then it would be another story, since I have a Prolific chip on my programming cable I have an issue on using it on Windows. Using the Prolific chip on Windows 7 upwards to Windows 10 will cause you a lot of issues that need constant attention in order for the programming cable to work.
Since I have a dual boot machine running CentOS 6.9 and Windows 10. I decided to install and use Chirp on Linux. Chirp can be installed on Linux and Mac OS without much difficulty specially if you are using the latest Linux distribution like Ubunto and Fedora, as for me I am using CentOS 6.9 a Redhat clone distribution of Linux mainly for development purposes. So I am stuck with the default install of Python which is required to run Chirp successfully.
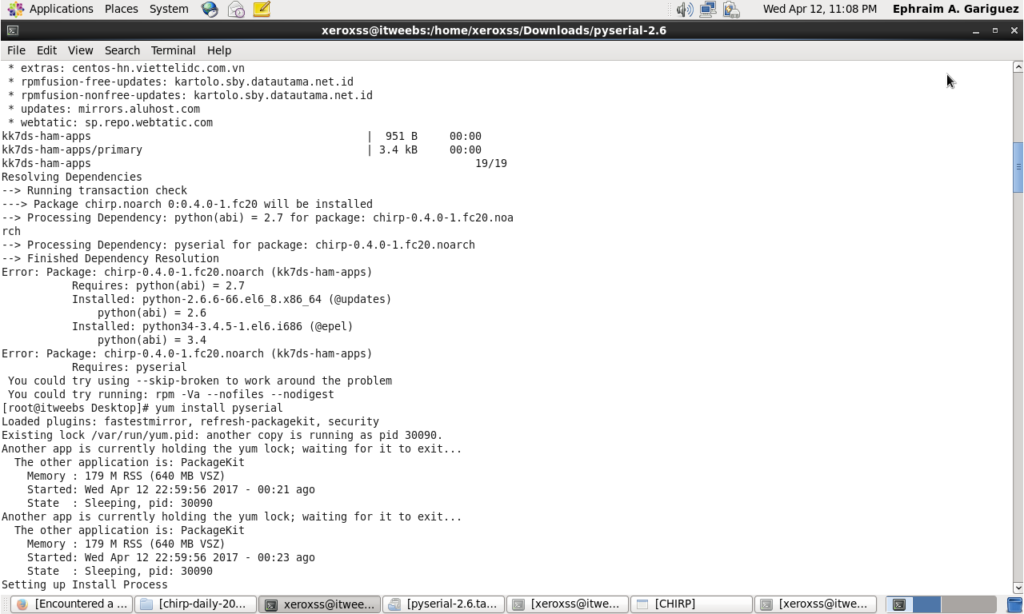
Following the installation instruction from Chirp website http://chirp.danplanet.com/projects/chirp/wiki/Home will not let you install Chirp on CentOS 6.9. What is needed is the Python serial access library (pyserial) to enable Chirp to use the Prolific usb chip on the programming cable. If you have the latest version of Python then installing pyserial is just a matter in invoking the install command on your Linux distribution.
Invoking the command: yum install chirp on latest Linux distribution will install Chirp without issues including the installation of pyserial dependency. On CentOS it will cause the system to look for a higher version of Python which can’t be updated unless you risk the stability of your system. So in this case a work around is needed.
I look around for the pyserial and manage to obtain an old pyserial library suitable to the version of CentOS running my system I uploaded this on my Google drive for future use just in case I need to do this again in the future, it can be downloaded from this link: https://drive.google.com/open?id=0B09fSUA0v5hRcU5YTXV6NngwalU
The pyserial package is a tar.gz type archive so you need first go to the directory where it has been downloaded in the terminal.
Next give the following set of commands:
Extract the Archive
tar -zxvf pyserial-2.6.tar.gz
Go the pyserial directory
cd pyserial-2.6
Build the package
python setup.py build
Install the package
sudo python setup.py install
Now the package is ready to be use and installed.
Make sure that your Linux username is also added to the dialout user group issue this command if Chirp can’t connect on your radio.
sudo usermod -aG dialout username (replace username with your own)
Once done you are ready to use the latest distribution that can be downloaded on the Chirp homepage extract the files go to the extract directory if you don’t want to install it and just issue the command
./chirpw
If it runs on your system then you may opt to install it permanently by invoking these commands
sudo python setup.py install
To quote Chirp instruction.
“When finished, you should be able to run “chirpw” from anywhere on your system, and (with luck) you’ll also have an item in your distribution’s applications menu.” -source Chirp danplanet.com
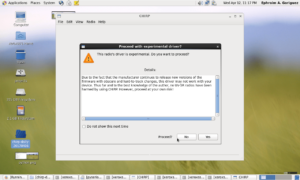
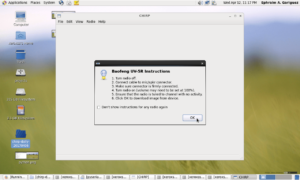
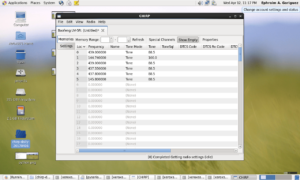
Which is exactly what happened on my install. So I successfully run Chirp on CentOS 6.9 and managed to work with my Baofeng UV-5RE radio.
Here’s some screen shots.
