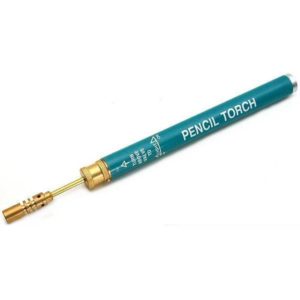
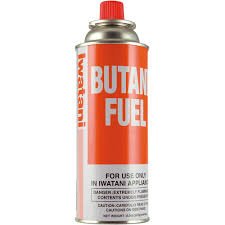
Pencil Torch is a good tool for soldering materials requiring extra heat. However care must be taken to successfully use it on electronics soldering work. The downside of the stock pencil torch is that from time to time the flame becomes intermittent due to the soot forming from the torch burner mainly cause by butane impurities and largely because as you use it longer than necessary the air pressure on the canister becomes weak. The cartridge can be refilled at the bottom of the torch through its pin charging system much like that of a car wheel. You poke the butane canister and press it for about 10 secs for a complete charging using a pumping action. This pushes the charging pin on the torch cartridge to allow fuel charging. To turn on the pencil torch use a lighter and slowly open the valve knob until you can hear some air escaping and light is using a lighter. A complete charge will usually allows you for about 2 minutes of working without interruption however when butane charge is slowly consumed you may experience intermittent operation. The reason I decided to convert this to a single continuous flow soldering system using a broken flame torch to be use as feeder system.
Materials for conversion
Pencil Torch
Flame Torch (Feeder system)
3/16 Copper tubing
Moldable epoxy
Tube cutter
Coaxial Cable (Insulator only)
Tube clamps
Silicon tubing
Shrinkable tubes
Pencil torch conversion to continuous flow soldering system
1. Remove the charging pin on the pencil torch
2. Cut about 1.5 inch of copper tubing to be use as extension for both the feeder and the inlet on the pencil torch
3. Insert the copper tubing on the pencil torch charging port and secure it with moldable epoxy until it cures
4. Do the same on the butane feeder system
5. Once the epoxy has completely cured attach the silicon tubing to the torch fuel inlet and the feeder system by inserting about an inch of coax insulation to the silicon tube.
6. Secure this connection with the tube clamps
7. Finished the conversion process using shrinkable tubes on joint for a more professional look.


